Install Pigsty for Production
This is the Pigsty production multi-node deployment guide. For single-node Demo/Dev setups, see Getting Started.
Summary
Prepare nodes with SSH access following your architecture plan,
install a compatible Linux OS, then execute with an admin user having passwordless ssh and sudo:
curl -fsSL https://repo.pigsty.io/get | bash;         # International
curl -fsSL https://repo.pigsty.cc/get | bash;         # Backup Mirror
This runs the install script, downloading and extracting Pigsty source to your home directory with dependencies installed. Complete configuration and deployment to finish.
Before running deploy.yml for deployment, review and edit the configuration inventory: pigsty.yml.
cd ~/pigsty      # Enter Pigsty directory
./configure -g   # Generate config file (optional, skip if you know how to configure)
./deploy.yml     # Execute deployment playbook based on generated config
After installation, access the WebUI via IP/domain + ports 80/443,
and PostgreSQL service via port 5432.
Full installation takes 3-10 minutes depending on specs/network. Offline installation significantly speeds this up; slim installation further accelerates when monitoring isn’t needed.
Video Example: 20-node Production Simulation (Ubuntu 24.04 x86_64)
Prepare
Production Pigsty deployment involves preparation work. Here’s the complete checklist:
| Item | Requirement | Item | Requirement |
|---|---|---|---|
| Node | At least 1C2G, no upper limit | Plan | Multiple homogeneous nodes: 2/3/4 or more |
| Disk | /data as default mount point | FS | xfs recommended; ext4/zfs as needed |
| VIP | L2 VIP, optional (unavailable in cloud) | Network | Static IPv4, single-node can use 127.0.0.1 |
| CA | Self-signed CA or specify existing certs | Domain | Local/public domain, optional, default h.pigsty |
| Kernel | Linux x86_64 / aarch64 | Linux | el8, el9, el10, d12, d13, u22, u24 |
| Locale | C.UTF-8 or C | Firewall | Ports: 80/443/22/5432 (optional) |
| User | Avoid root and postgres | Sudo | sudo privilege, preferably with nopass |
| SSH | Passwordless SSH via public key | Accessible | ssh <ip|alias> sudo ls no error |
Install
Use the following to automatically install the Pigsty source package to ~/pigsty (recommended). Deployment dependencies (Ansible) are auto-installed.
curl -fsSL https://repo.pigsty.io/get | bash            # Install latest stable version
curl -fsSL https://repo.pigsty.cc/get | bash            # Backup mirror
curl -fsSL https://repo.pigsty.io/get | bash -s v4.2.2  # Install specific version
If you prefer not to run remote scripts, manually download or clone the source. When using git, always checkout a specific version before use:
git clone https://github.com/pgsty/pigsty; cd pigsty;
git checkout v4.2.2;  # Always checkout a specific version when using git
For manual download/clone, additionally run bootstrap to manually install Ansible and other dependencies, or install them yourself:
./bootstrap # Install ansible for subsequent deployment
Configure
In Pigsty, deployment details are defined by the configuration inventory—the pigsty.yml config file. Customize through declarative configuration.
Pigsty provides configure as an optional configuration wizard,
generating a configuration inventory with good defaults based on your environment:
./configure -g # Use wizard to generate config with random passwords
The generated config defaults to ~/pigsty/pigsty.yml. Review and customize before installation.
Many configuration templates are available for reference. You can skip the wizard and directly edit pigsty.yml:
./configure -c ha/full -g       # Use 4-node sandbox template
./configure -c ha/trio -g       # Use 3-node minimal HA template
./configure -c ha/dual -g -v 18 # Use 2-node semi-HA template with PG 18
./configure -c ha/simu -s       # Use 20-node production simulation, skip IP check, no random passwords
Example configure output
vagrant@meta:~/pigsty$ ./configure
configure pigsty v4.2.2 begin
[ OK ] region = china
[ OK ] kernel  = Linux
[ OK ] machine = x86_64
[ OK ] package = deb,apt
[ OK ] vendor  = ubuntu (Ubuntu)
[ OK ] version = 22 (22.04)
[ OK ] sudo = vagrant ok
[ OK ] ssh = [email protected] ok
[WARN] Multiple IP address candidates found:
    (1) 192.168.121.38	    inet 192.168.121.38/24 metric 100 brd 192.168.121.255 scope global dynamic eth0
    (2) 10.10.10.10	    inet 10.10.10.10/24 brd 10.10.10.255 scope global eth1
[ OK ] primary_ip = 10.10.10.10 (from demo)
[ OK ] admin = [email protected] ok
[ OK ] mode = meta (ubuntu22.04)
[ OK ] locale  = C.UTF-8
[ OK ] ansible = ready
[ OK ] pigsty configured
[WARN] don't forget to check it and change passwords!
proceed with ./deploy.yml
The wizard only replaces the current node’s IP (use -s to skip replacement). For multi-node deployments, replace other node IPs manually.
Also customize the config as needed—modify default passwords, add nodes, etc.
Common configure parameters:
| Parameter | Description |
|---|---|
-c|--conf | Specify config template relative to conf/, without .yml suffix |
-v|--version | PostgreSQL major version: 13, 14, 15, 16, 17, 18 |
-r|--region | Upstream repo region for faster downloads: default|china|europe |
-n|--non-interactive | Use CLI params for primary IP, skip interactive wizard |
-x|--proxy | Configure proxy_env from current environment variables |
If your machine has multiple IPs, explicitly specify one with -i|--ip <ipaddr> or provide it interactively.
The script replaces IP placeholder 10.10.10.10 with the current node’s primary IPv4. Use a static IP; never use public IPs.
Generated config is at ~/pigsty/pigsty.yml. Review and modify before installation.
We strongly recommend modifying default passwords and credentials before installation. See Security Hardening.
Deploy
Pigsty’s deploy.yml playbook applies the configuration blueprint to all target nodes.
./deploy.yml # Deploy everything on all nodes at once
Example deployment output
......

TASK [pgsql : pgsql init done] *************************************************
ok: [10.10.10.11] => {
    "msg": "postgres://10.10.10.11/postgres | meta  | dbuser_meta dbuser_view "
}
......

TASK [pg_monitor : load grafana datasource meta] *******************************
changed: [10.10.10.11]

PLAY RECAP *********************************************************************
10.10.10.11                : ok=302  changed=232  unreachable=0    failed=0    skipped=65   rescued=0    ignored=1
localhost                  : ok=6    changed=3    unreachable=0    failed=0    skipped=1    rescued=0    ignored=0
When output ends with pgsql init done, PLAY RECAP, etc., installation is complete!
Upstream repos (Linux/PGDG) may break due to improper updates, causing deployment failures (quite common)! For serious production deployments, we strongly recommend using verified offline packages for offline installation.
Warning: Running deploy.yml again on an initialized environment may restart services and overwrite configs. Be careful!
Interface
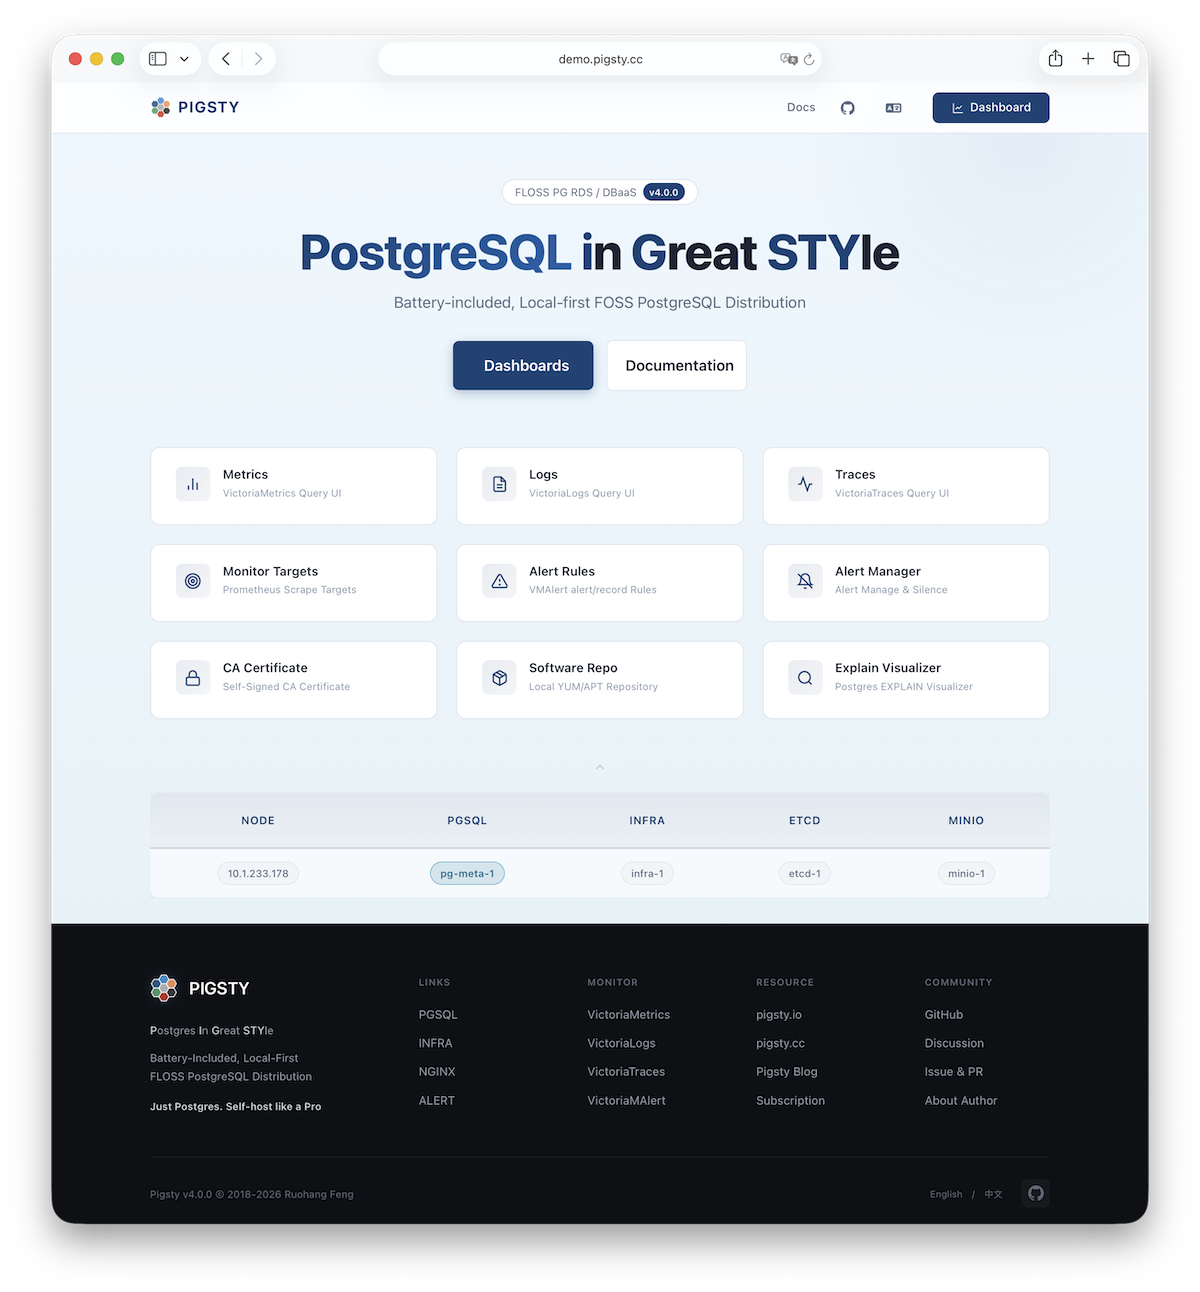
Assuming the 4-node deployment template, your Pigsty environment should have a structure like:
| ID | NODE | PGSQL | INFRA | ETCD |
|---|---|---|---|---|
| 1 | 10.10.10.10 | pg-meta-1 | infra-1 | etcd-1 |
| 2 | 10.10.10.11 | pg-test-1 | - | - |
| 3 | 10.10.10.12 | pg-test-2 | - | - |
| 4 | 10.10.10.13 | pg-test-3 | - | - |
The INFRA module provides a graphical management interface via browser, accessible through Nginx’s 80/443 ports.
The PGSQL module provides a PostgreSQL database server on port 5432, also accessible via Pgbouncer/HAProxy proxies.
For production multi-node HA PostgreSQL clusters, use service access for automatic traffic routing.
More
After installation, explore the WebUI and access PostgreSQL service via port 5432.
Deploy and monitor more clusters—add definitions to the configuration inventory and run:
bin/node-add   pg-test      # Add pg-test cluster's 3 nodes to Pigsty management
bin/pgsql-add  pg-test      # Initialize a 3-node pg-test HA PG cluster
bin/redis-add  redis-ms     # Initialize Redis cluster: redis-ms
Most modules require the NODE module first. See available modules:
PGSQL, INFRA, NODE, ETCD,
MINIO, REDIS, FERRET, DOCKER…
Feedback
Was this page helpful?
Thanks for the feedback! Please let us know how we can improve.
Sorry to hear that. Please let us know how we can improve.